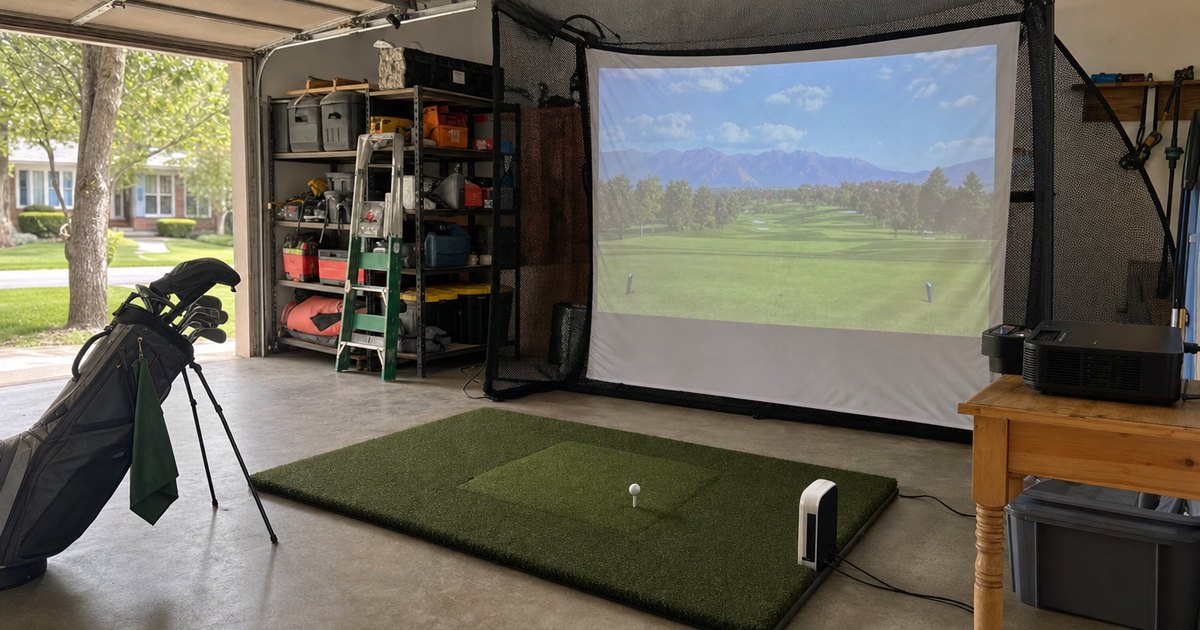
The question I get most in the forums is some version of “I’ve got [budget] — what do I buy for a home sim?” And the honest answer is that a first sim isn’t a purchase. It’s a sequence of purchases, and getting the order right matters more than getting any single piece perfect. Here’s the order I’d follow if I were doing it again from scratch.
First: measure the room (this costs nothing)
Before anything goes in a cart, measure your space — length, width, and especially ceiling height — and make a full driver swing in the spot you’ll actually hit from. The room decides what’s possible. If the ceiling won’t take a driver, that changes everything downstream, so find out now. I run the sim space planner before I spend a cent. This step is free and it saves the most money.
Second: the launch monitor
The monitor is the brain. Everything else just gives you a safe place to hit balls and a picture to look at — the monitor is what turns swings into data and feeds the sim. So this is where the money should concentrate first.
The one decision that matters here is what it actually measures versus calculates. If you care about spin and flighting your irons, pay to get spin measured, not guessed — I learned that the expensive way. If you mostly want speed, tempo and a fun round on screen, a unit that measures ball speed honestly and calculates the rest can be plenty. Buy the brain that matches how you’ll actually use it.
Third: a way to hit safely — net first, enclosure later
You do not need a full enclosure on day one. A good hitting net plus a quality mat is enough to start hitting and collecting data immediately, for a fraction of the cost. I ran a net-only setup for a while and it was genuinely fun — I just didn’t have the on-screen picture yet.
This is the staged-build trick: net and mat now, enclosure and screen when you’re ready and you’ve confirmed the space and the habit. It spreads the cost and lets you confirm you’ll actually use the thing before you commit to the big pieces.
Fourth: the mat (do not cheap out here)
I’m putting the mat in its own step because people treat it as an afterthought and it’s the piece most likely to hurt you — literally. A thin, hard mat sends shock straight up into your wrists and elbows on every fat shot, and it changes how the club interacts with the surface, which quietly messes with your data. A good mat protects your joints and gives you a consistent, repeatable strike surface. It’s not the glamorous purchase, but it’s the one I’d refuse to skimp on.
Fifth: the screen, projector and enclosure
Now the picture. The impact screen, the projector, and the enclosure frame that holds it all and contains stray shots. This is the stage where ceiling height comes back to bite people — you need room for the ball to rise toward the screen and for the projector throw to work. Get the geometry right here and the sim suddenly feels like a real room instead of a net with a TV.
Sixth: the software and the small stuff
Sim software (and confirming your monitor actually talks to it), a tablet or PC mount, alignment aids, cable management. Individually small, collectively the difference between a sim that’s a joy to fire up and one that’s a fiddly chore every session.
The mistakes that blow the budget
The wrong order is what actually wastes money, more than any single overpriced part. The classic sequence of regret goes like this: someone buys the flashy enclosure and projector first because that’s the exciting part, then realizes the budget’s gone and settles for a cheap monitor — the brain — to make it fit. They end up with a beautiful room feeding bad data. Backwards. The monitor is where the money should concentrate; the picture can wait.
The other budget-killer is buying twice. People grab the cheapest mat, the cheapest net, the cheapest everything to “get started,” then replace half of it within a season once they realize the mat hurts and the net’s too small. Buying once at the right level on the pieces that matter — monitor and mat especially — is cheaper than buying cheap twice.
And the quiet one: forgetting the running and hidden costs. A decent gaming PC or tablet to run the sim, a software subscription, good balls the monitor can read, maybe a fan and a light. None of these are huge alone, but if your whole budget went on the four big boxes, the small stuff that makes the sim actually usable can stall the build for a month.
Where I’d splurge and where I’d save
If the budget is tight, here’s where I’d put the dollars and where I’d hold back. Splurge on the launch monitor (it’s the brain) and the mat (it’s your joints and your data honesty). Save, at least at first, by going net-only before a full enclosure, running a modest projector you upgrade later, and skipping the fancy alignment gadgets until you know you’ll use them. You can always add picture and polish; you can’t out-practise a monitor feeding you numbers you can’t trust.
The order, in one line
Room → monitor → net + mat → screen/projector/enclosure → software + extras. Spend heaviest on the brain (the monitor) and the thing touching your body every shot (the mat), stage the rest, and never let the gear get ahead of what the room can physically hold.
That sequence is exactly how I’d build a sensible first sim today. If you want concrete starting points at the affordable end — the units and bundles that actually hold up in a real garage — I pulled them together in the best budget golf simulators guide. Build it in order and your first sim becomes the one you keep, not the one you outgrow in a month.